2015乐天技术会议

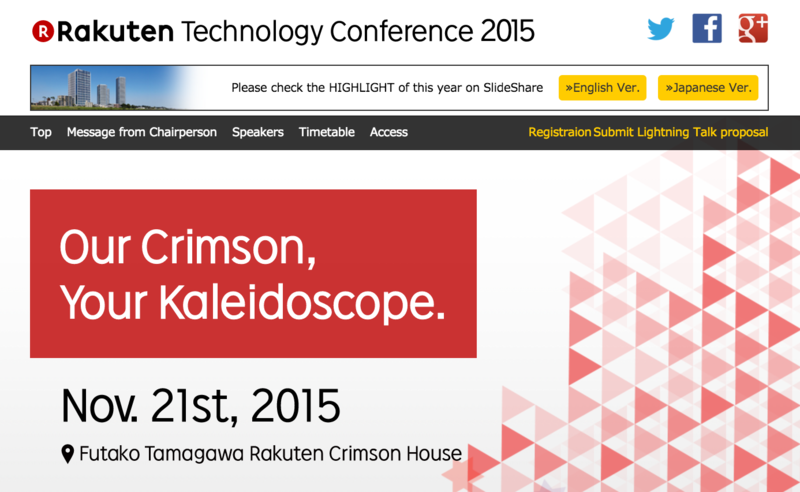
今儿天气不错,起了个大早,为了大老远赶到公司参加一年一次的技术会议,名曰乐天技术会议。

乐天技术会议跟世界大部分的技术会议一样:以技术的名义…恩,你懂的,耍牛氓,比如做个广告、秀下业务、搞个招聘。

但是因为有Matz等嘉宾,所以每年对它还有个属于技术本身的期待。

此外,今年还有计算机视觉方向的泰斗级人物——Takeo Kanade,以及设计了一个非线性模式匹配语言的80后新生小将——Egison

计算机视觉的有趣研究:从机器人、体育到药品

Speaker : Takeo Kanade

木有找到百科简介,委屈读者大大勉力翻墙啦。

金教授主要谈了他在计算机视觉领域近30年的各种研究或开发的有趣点。具体来说有如下几个:基于视觉的自主机器人、电子眼的视觉、生物活细胞追踪、人脸图像分析和水滴照明。(很晕对吧,别慌,我当时也是)

关于演讲内容,金教授显然做过精心准备,考虑到普通听众的专业领域知识水平有限,介绍每个点基本围绕轶事经验、策略和研究哲学来介绍,听起来不怎么吃力。

同时整个演讲,教授的哲学始终贯彻如一:像外行一样思考,像专家一样行动 (Think like an amateur, do as an expert)

难忘的是,演讲中有不少段子,而情到处,金教授以70岁高龄,笑起来还像孩子一样

演讲前还翻到一篇池建强介绍其著书《像外行一样思考》的文章————你需要多久才能变成一个傻瓜

作者是美国卡耐基·梅隆大学(CMU)的计算机科学和机器人研究所的金出武雄教授。金教授的学术固然在同行眼里高山仰止,行文也极为流畅。关于写作,他的观点是,无论写科普还是论文,都要像创作小说那样写出引人入胜的独特观点。这一点和 MacTalk 秉承的写作原则一脉相承。

金教授在1980年的春天从日本到了美国,开始了自己的学术研究生涯。他信誓旦旦的对自己的妻子说:咱们只去五年。三十年过去了,伊带着这个弥天大谎参与了人工智能和机器人领域相关的各种研究,工作兢兢业业,为美国人民的人工智能事业做出了卓越的贡献,这包括:自动驾驶汽车,能够进行火星探查和火山口探查的机器人,自动驾驶直升飞机,虚拟现实和三维视频,等。

对教授背景或研究感兴趣的童鞋们拿走不谢

Takeo Kanade resume in CMU

TK60

h-index

如何设计编程语言

Speaker : Matz

Matz一如既往,带来自己对于编程,对于程序员的新思考。去年是从Ruby中学到的经验,今年则是《如何设计编程语言》。

  1. 英语、日语、Java、Ruby都是语言,本质一样
  2. 没有人特意地去设计语言
  3. 你设计过语言吗?每个人都设计过语言,比如你设计过Interface、API、文档等等
  4. Programming is a process of design your own disable —- (The) Dave Thomas
  5. Coc (Convention over Configuration) 约定大于配置
  6. DRY (Don’t repeat yourself) 避免重复
  7. Avoid Guessing Games
  8. Avoid Alpha syndrome

这次因为时间的关系,Matz讲的没有上次那么多,那么细,但很直白、很容易GET到他的点。那些年,那些优雅那些坑。

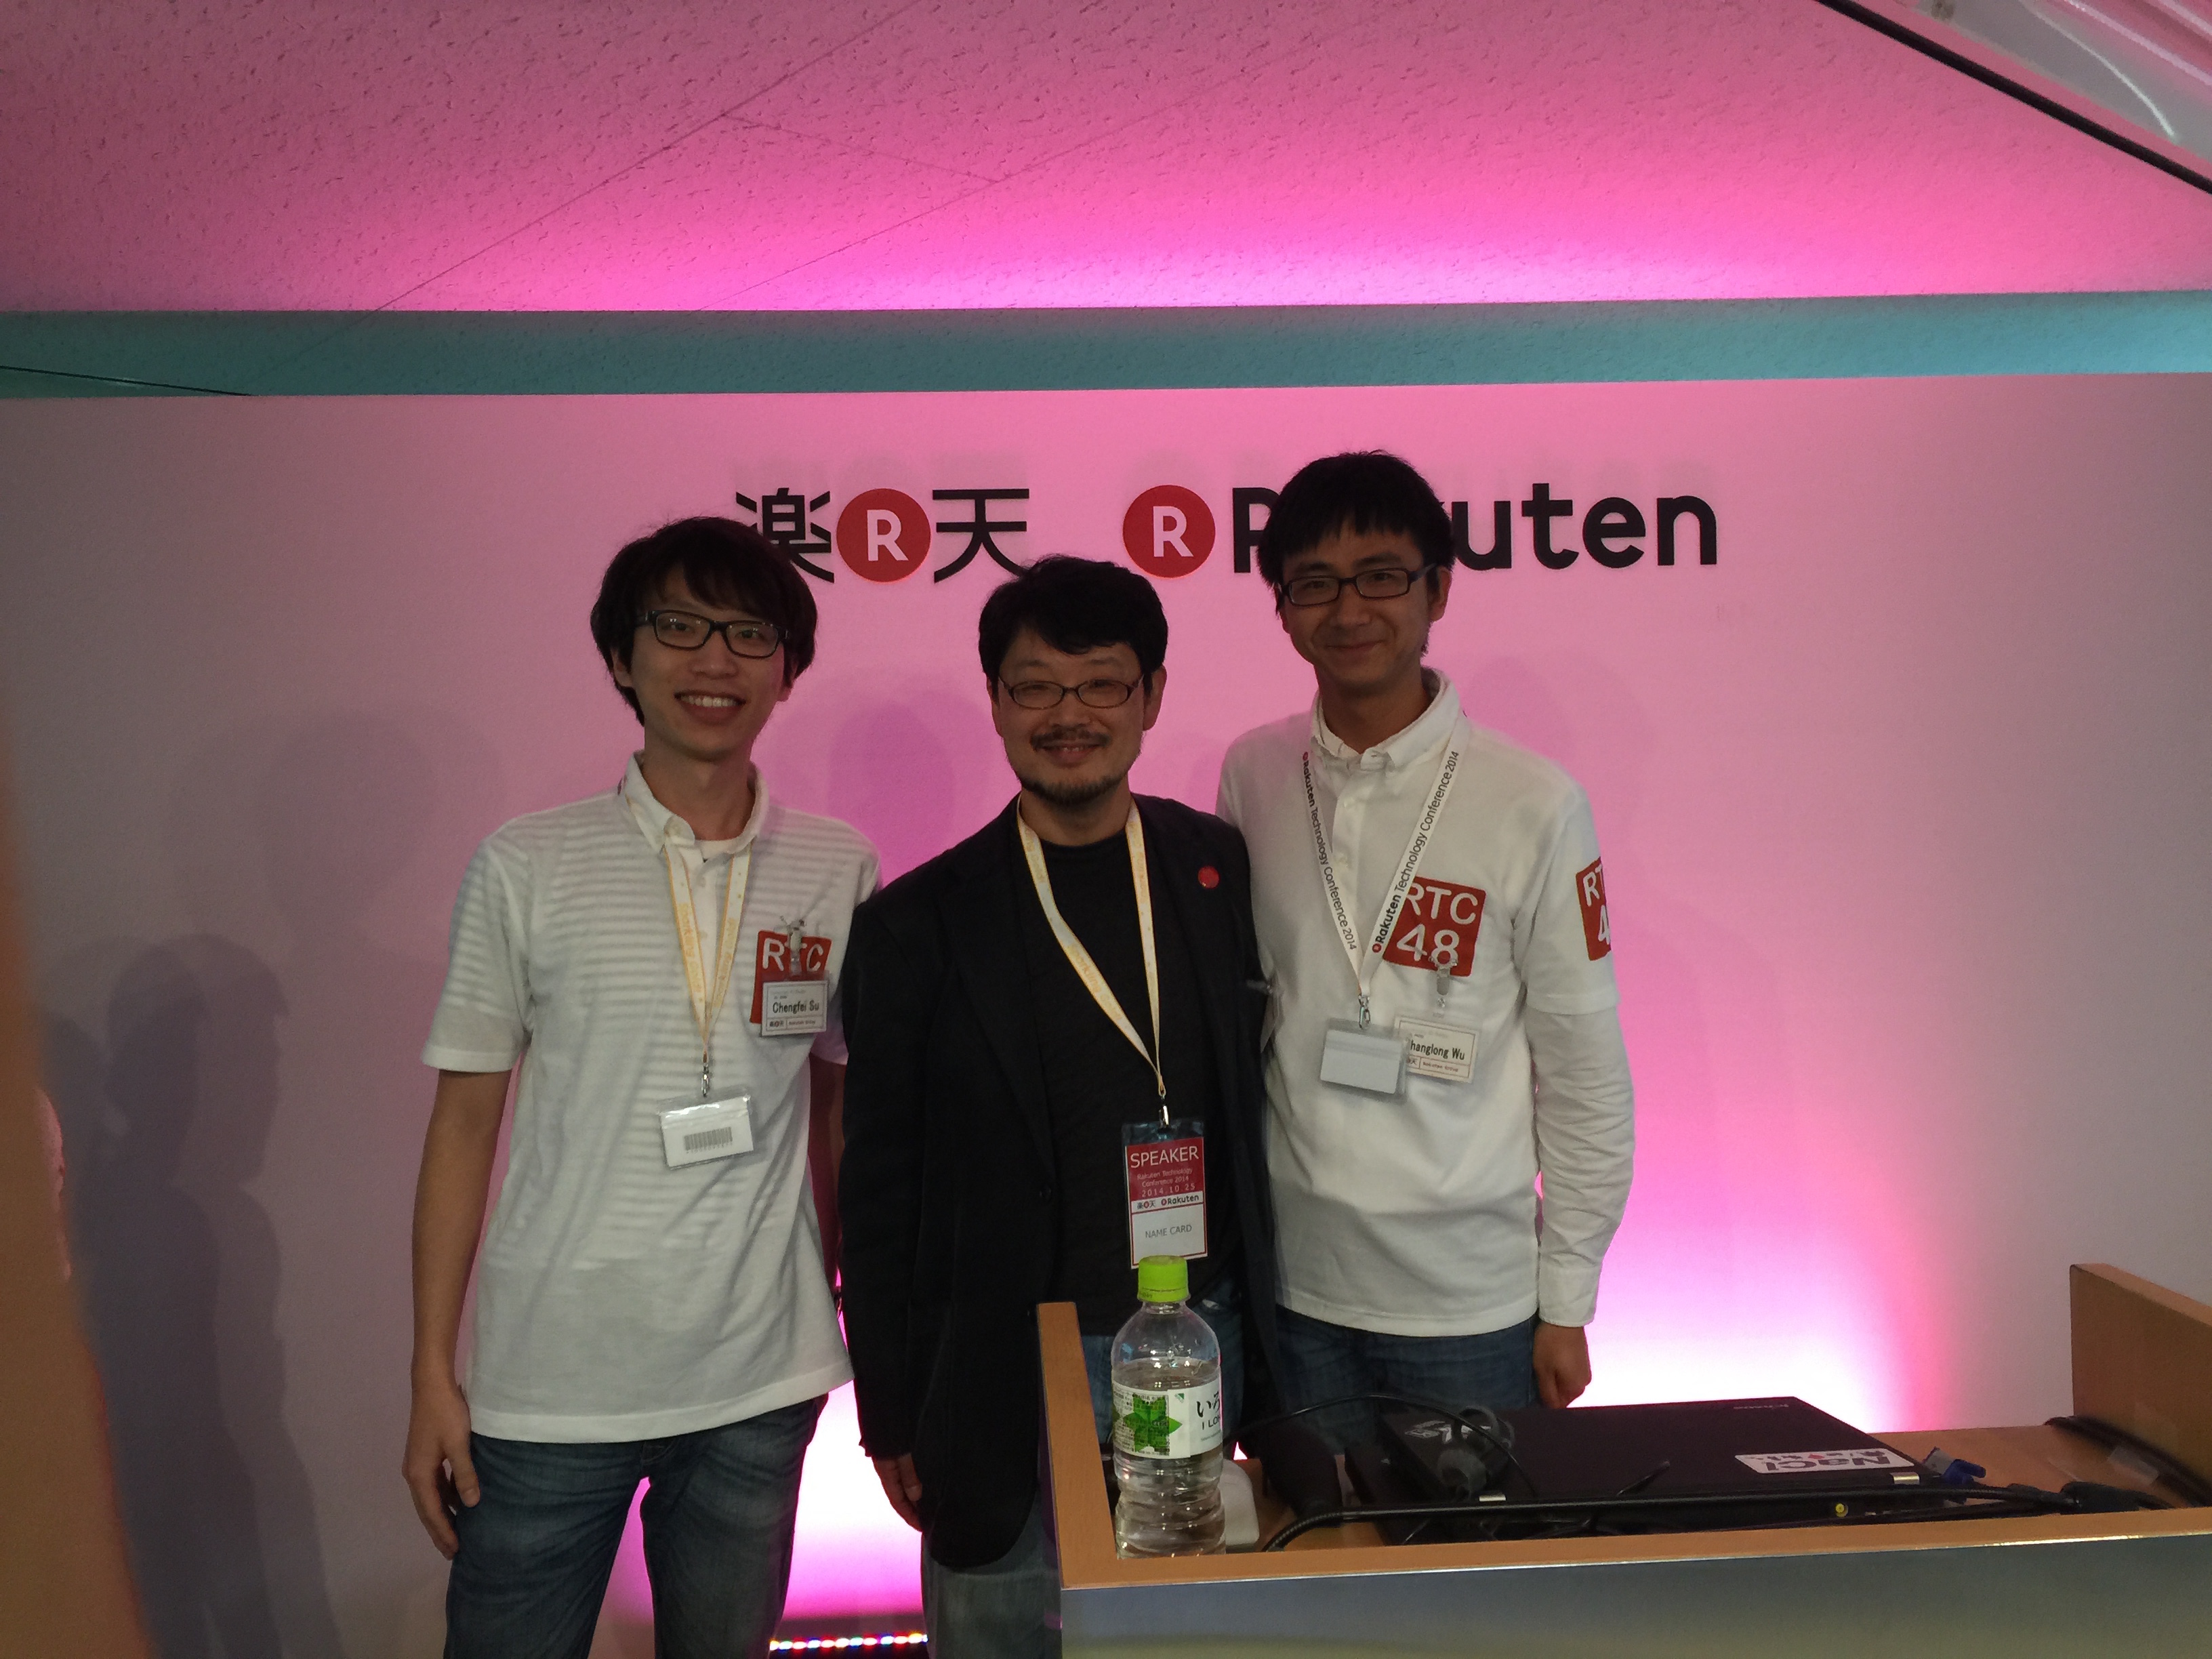
最后,补上去年没能上的照片(右一),回想当年我还…没现在这么老呀。

与Matz的合照_2014年

Philosophy behind the Creation of Egison

Speaker : Satoshi Egi

先上个问题,会后有好事者问Egi,目前公司有人用Egison么? 答曰:目前只有我。泪奔…

学Egi不难,目测官网既有入门手册,又有交互界面,还有Cheatsheet,更别说还有文档和源码。

然后…就没有然后了…

演讲主要有三个部分:(果然Egi还年轻,07年才入读大学,只会总-分-总)

  • 计算机科学中的各种抽象表示
  • 创造一种新的抽象表示的过程
  • Egison的诞生历史

住: Representation,暂翻译为 抽象表示。 求更好的翻译,请直接留言。

计算机科学中的抽象表示

举了很多栗子:如数字标记、数学表达式、化学公式、编程语言等等都是人类对自然现象的一种抽象表示。

同一种表示也有很多种:如数字标记就可以分阿拉伯数字、罗马数字、中文数字等等。不过根据语言、地域区分的不同表示,仅仅影响到可读性,在功能上是一样的。

创造一种新的抽象表示的过程

整个过程沿着这个过程:大自然 -> 人类直觉 -> 抽象表示

下面举例分析

n = a + b 10^1 + c 10^2 + … + z * 10^r

  • 识别字符和数字, 如a-z, 1-10
  • 识别加号
  • 识别乘号

  • 表达式中的所有数字是唯一的

如何设计

  • 给每个数字一个名字
  • 造一个数值系统
  • 造一个0作为占位符

Egison的诞生历史

Egison作为一种语言,主要致力于更好地解决非线性的模式匹配问题,所以他不是一门大而全的语言,更像一种Lisp方言。

余下参考luikoreEgison: 非线性模式匹配的Lisp方言中的解释:

  1. Egison支持的matcher主要是三种:List、Multiset、Set
  2. Egison的模式构造器主要是:cons,join、snoc、nioj
  3. 模式运算: | (或), & (与), ^ (非)

Matz和Egi

参考资料

Egison’s slides

Egison: 非线性模式匹配的Lisp方言

注: 15年官方资料还没公布,更新后会补充发布

进程

一般来说,进程的定义为操作系统进行资源分配和任务调度的基本单位。很熟悉吧,每次操作系统期末考的必考题 :)

但细想下,还有一些值得反复咀嚼的精华。

1
2
3
$ ps -ef
$ top
$ ls /proc/<pid>/fd

这些简单的命令可以看到操作系统上的很多进程信息,如PID, State, fds(已打开文件描述符)。这些信息均来自一个耳熟能详的名字——PCB(进程控制块,Process Control Block)

不过不幸的是,用户空间很难直接打开PCB查看,PCB一般被放置在内核栈中。 1

那么进程除了PCB,还有啥。进程一般由程序、数据集合和进程控制块三部分组成。 程序即程序, 运行进程的代码块,程序猿们耗费无数青春的地方。 数据集合是程序在执行时所需要的数据和工作区。

由此可产生一个浅显的结论:进程是程序运行的实体。程序本身只是指令、代码及其组织形式的描述,进程则是程序加载到系统、资源、CPU上的运行实例。 因此多个进程可能与同一个程序有关,但每个进程又独立运行,因为PCB不一样。

进程是资源分配的基本单位,那么资源是什么? 资源是最底层的硬件(CPU、RAM、DISK、NET DEVICES)在操作系统视角上的抽象(CPU timestamp, memory, file, ip/port)。

资源分配大多发生在新建进程时,一般我们会把所分配的资源相关信息存放到PCB中。

当然我们也可以在进程运行时分配更多资源,如长期霸占CPU(阻塞IO)、占用更多内存(新建对象,动态分配堆)、打开更多文件,写入数据等等。

Process life circle

从上图可以看到PCB的常见信息,同时还有更大的信息点是进程的生命周期:

实质很简单:既然可以创建进程,自然可以杀死进程,同时操作系统为进行任务调度:即让进程进行运行和等待状态的切换。

这也是为什么进程是操作系统进行任务调度的基本单位。同时,也是操作系统运行了好几十个进程,使用上却一点没有卡顿的感觉的本质。

调度有很多种,但当前操作系统的调度主要是一种:基于时间片的抢占式调度。

基于时间片是指假想把CPU的运行按照时间轴切成一片片的零碎时间,每片时间运行不同的进程。

抢占式是时间片到了,操作系统会强制切换正在运行的进程的状态,好让等待的进程获得运行的机会。

线程

协程

参考资料

https://en.wikipedia.org/wiki/Process_control_block

从13年开始接触golang,一直对golang十分喜爱,前前后后写过一些代码,包括业余的,生产环境的项目。 一直想写点总结好让后来人少趟点坑,正好周末天气不好,只能窝在家中写总结。

先说$GOPATH

基本每个刚入门golang的都得先跟$GOPATH过个照面,相信网上也有很多资料,如何设置使go代码运行,怎样设置更适合自己,相信每个老手都有自己的想法与判断。

我且说说我的思考。

  • $GOPATH是Golang唯一必须设置的环境变量
  • $GOPATH指向的golang的标准工作区
  • $GOPATH可以根据具体情况自由更改
  • $GOPATH可以指定多个位置

golang官方关于$GOPATH的介绍如下:

The GOPATH environment variable is used to specify directories outside of $GOROOT that contain the source for GO projects and their binaries.

$GOPATH是一个环境变量。它指定golang项目的源码和可执行码路径。在$GOROOT之外。

不得不提下$GOROOT。

$GOROOT是GO可执行命令的路径,默认为操作系统的个人用户可执行目录。如Ubuntu下/usr/local/bin

如果通过安装文件(dmg/exe)或包管理器(apt-get/yum)默认安装,GO可执行命令在环境路径下,无须设置。 当用户编译安装,自由指定目录时,设置$GOROOT,并将其放入环境路径下。如/usr/local/go,需将其插入PATH中:

1
2
$ export GOROOT=/usr/local/go
$ export PATH=$PATH:$GOROOT/bin

$GOPATH与标准工作区

提$GOPATH不得不提标准工作区。Golang的标准工作区不太简单,也不优雅。但一旦习惯,确实很实用。官网方描述如下:

A workspace is a directory hierarchy with three directories at its root:

src contains Go source files organized into packages (one package per directory), pkg contains package objects, and bin contains executable commands.

Golang工作区是一个包含有src, bin, pkg三个目录的根路径。

$GOPATH指定了Golang的工作区。可以指定系统任意位置,如$HOME, $HOME/work。官方推荐:

1
export GOPATH=$HOME

注意,$GOPATH不能与$GOROOT一致。

属于$GOPATH的自由

虽然80%的情形,无须修改$GOPATH。但$GOPATH是一个环境变量,我们可以根据需求任意对其进行临时修改。而且对于某些场景,修改$GOPATH不失为一个好的临时解决方案:

场景一: git clone

当在文件系统任意位置git clone外部Golang项目后,只需临时修改$GOPATH即可快速运行

1
2
3
4
$ git clone https://github.com/cloudfoundry/hm-workspace
$ cd hm-workspace
$ export GOPATH=$PWD
$ go install

场景二: direnv

1
2
3
4
5
6
$ git clone https://github.com/direnv/direnv
$ cd direnv
$ make install

$ cd <your-workspace>
$ vim .envrc

$GOPATH是可以指定多个位置

1
$ export GOPATH=$HOME:$HOME/workspace<:...>

理解这层,可以很快地解决$GOPATH问题,即把所有需要用的内部外部依赖,均放到$GOPATH上。

对于开发环境,可以更灵活地运行实验项目。

对于生产环境,可以更好地解耦依赖,实现自动化。

1
$ export GOPATH=$PWD:$PWD/Godep/_workspace go build -o $PWD/bin

参考资料

https://golang.org/doc/code.html

https://github.com/golang/go/wiki/GOPATH

https://github.com/direnv/direnv

This article mainly focuses on introducing one method of heartbeat debugging. It will include some key points listed as below:

  • Some basic thoughts on how to diagnose a network bug among cluster
  • How to handle network level 2 problem
  • Some frequently used commands or tools: tcpdump, arp, etc.

Prerequirements

First of all assume that we have two nodes installed heartbeat. Well, if you do not know about heartbeat, here is some useful resource links: - Heartbeat Official User Guide - Rakuten DBA HeartBeat Setting manual

Environment

As mentioned above, We’ve got two nodes that which had already installed heartbeat. Let us assume their IP listed as below:

1
2
192.168.40.64
192.168.41.63

Before start them, we need setup their configuration files, generally speaking it includs:

1
2
3
ha.cf
haresource
authkeys

For ha.cf, the configuration is listed as below:

Configuration of ha.cf

Among ha.cf, some fields has is easy to know, some we would pick up and describe. ‘crm off’ means Cluster Resource Manager(crm) is off. ‘auto_failback off’ means standby is working and it will not return its resource whether master is recovered or not. ‘node node-0’ means config every node need connect through heartbeat and ‘node-0’ is server name, you can use ‘uname -n’ get it. haresource will configure a virtual IP address to make heartbeat nodes act as one server. Below is configuration example:

Example configuration of virtual ip

‘192.168.40.1’ is a virtual IP, the most important here you need specify is when your nodes real IP and virtual IP are not in the same subnet, please add netmask, in this configuration file is ‘24’ authkeys stores how authenticate among heartbeat nodes. generally speaking there are three authentication types. ‘crc’, ‘md5’ and ‘sha1’, if you network is secure, use ‘crc’ is enough. If not please use ‘sha1’. Here is the example:

Example configuration of authentication methods

Some useful commands of start / stop heartbeat as a service.

1
2
sudo service heartbeat start
sudo service heartbeat stop

But please always remember it is only useful under Ubuntu and install heartbeat as a service.

Debug

Frankly speaking, if you setup your configuration file as above example, you maybe configure heartbeat successfully without debug. But if it is just not work, so we still need to learn how to debug with heartbeat.

Logs

Every mature software or service should have logs, no exception for heartbeat. The log addresses is right in the ha.cf config file.

1
2
tail -f /var/log/ha-debug
vim /var/log/ha-log

Use ‘tail -f’ or ‘vim’ depends on yourself.

Virtual IP Interface

When every heartbeat starts it will try to setup a Virtual IP address, this address is specified in haresource file. We can use ‘ifconfig’ command easily observe this. But It reports an error, here is an useful command to debug. sudo ifconfig eth0:100 192.168.40.1 netmask 255.255.255.0 broadcast 192.168.40.255 This command will setup a virtual IP Interface with specified IP 192.168.40.1 and also netmask, broadcast.

ARP

Using arp, we can find whether heartbeat nodes are connected with each other or not. Command is like this:

1
arp -a

Actually every IP Interface would have a arp list, it will store mappings between IP address and MAC address. If they are connected, we can got a record like this:

1
node-0 (192.168.40.64) at 00:50:56:cc:ee:ff [ehter] on eth0

SEND_ARP & TCPDUMP

Using send_arp to mock a virtual IP and use TCPDUMP to detect is there any arp requests online. Some commands are listed as below:

1
send_arp 192.168.40.4 00:11:22:aa:bb:cc 192.168.40.4 fffffffffff

Using ‘tcpdump’ to catch every arp request and response. Here is the example command:

1
sudo tcpdump -i eth0 arp

Example result is listed as below:

1
2
07:46:07.651105 ARP, Request who-has 127.0.1.1 tell 127.0.1.1, length 46
07:46:08.151360 ARP, Reply 127.0.1.1 is-at 00:00:00:56:00:05 (oui Ethernet), length 46

Nats Server working with heartbeat

Regarding to our team, heartbeat will work for nats server to promise that nats-server will always alive. In terms of nats server, we’ve one useful command ‘nats-top’ to check whether which is working.

1
2
cd nats-installation-directory
./bin/nats-top

Conclusion

Debug with heartbeat is not only focus on heartbeat, but also know about environment context, research on arp protocol. In this means what we are doing is totally based on what we learned before such as arp, IP Interface. But we need to use what we learn in real work and also try it, fix it as quick as possible. To profit our team, even our company.

gem_example

通过rubygem内置的工具可以轻松地把代码打包成gem。下面创建一个简单的gem_example案例.

开始

首先,新建一个目录,并创建一个gem_example.rubygem_example.gemspec的文件,具体的目录结构如下:

1
2
3
-gem_example.gemspec
`--lib
`--gem_example.rb

注意

  1. 代码一般放在lib目录中
  2. 约定俗成,lib内有一个文件的文件名与gem名称一样

下面开始在lib/gem_example.rb中编写一点内容,具体如下:

1
2
3
4
5
class GemExample
def self.hi
puts "Hello world!"
end
end

最后,介绍一下gemspec。其内部主要定义改gem的版本、依赖等。示例如下:

1
2
3
4
5
6
7
8
9
10
11
12
13
14
Gem::Specification.new do |s|
s.name = 'gem_example'
s.version = '0.0.1'
s.date = '2015-02-24'
s.summary = "An Simple Gem Example!"
s.description = "A simple example of introducing how to use gem"
s.authors = ["Changlong Wu"]
s.email = 'clongbupt@gmail.com'
s.files = ["lib/gem_example.rb", "lib/gem_example/translator.rb"]
s.executables << 'gem_example'
s.homepage =
'http://github.com/clongbupt/gem_example'
s.license = 'MIT'
end

gem build会读取gemspec,并以此标识和分发gem。具体命令如下:

1
gem build gem_example.gemspec

控制台输出的结果为:

1
2
3
4
5
$ gem build gem_example.gemspec
Successfully built RubyGem
Name: gem_example
Version: 0.0.1
File: gem_example-0.0.1.gem

irb中可以对其进行测试。示例如下:

1
2
3
4
irb 
require ‘gem_example’
true
GemExample.hi

输出结果为hello world

发布

发布之前,首先要配置登录到rubygem的信息:

1
2
3
4
5
> curl -u yourusername_on_rubygem
https://rubygems.org/api/v1/api_key.yaml >
~/.gem/credentials; chmod 0600 ~/.gem/credentials

Enter host password for user 'yourusername_on_rubygem':

如果系统限制等,无法使用curlopenssl等,可以通过浏览器访问链接https://rubygems.org/api/v1/api_key.yaml,它会让你登录的,
成功则会下载一个认证信息文件api_key.yaml,完了直接把它放到~/.gem/文件夹下,重命名为credentials
一切设置妥当之后,就可以push你的gem了。具体示例如下:

1
2
3
gem push hola-0.0.0.gem
Pushing gem to RubyGems.org...
Successfully registered gem: hola (0.0.0)

上传成功后,你就可以通过下面命令check到自己的gem了:

1
gem list -r gem_example

然后尝试安装:

1
gem install gem_example

进阶

修改文件lib/gem_example.rb中的内容为:

1
2
3
4
5
6
7
8
9
10
11
12
13
14
15
16
17
18
19
20
21
class GemExample
def self.hi(language = "english")
translator = Translator.new(language)
translator.hi
end
end

class GemExample::Translator
def initialize(language)
@language = language
end

def hi
case @language
when "spanish"
"hola mundo"
else
"hello world"
end
end
end

其中,可以将Translator进行拆分。一般推荐把目录结构调整为如示例所示样子:

1
2
3
4
5
├── gem_example.gemspec
└── lib
├── gem_example
│ └── translator.rb
└── gem_example.rb

接着,修改lib/gem_example.rb文件:

1
2
3
4
5
6
7
require 'lib/translator'
class GemExample
def self.hi(language = "english")
translator = Translator.new(language)
translator.hi
end
end

注意同时还需要修改gemspec文件, 把新添加的目录和文件索引进去, 否则打包时无法找到新文件。

1
2
3
4
5
6
7
8
9
10
11
12
13
14
Gem::Specification.new do |s|
s.name = 'gem_example'
s.version = '0.0.1'
s.date = '2015-02-24'
s.summary = "An Simple Gem Example!"
s.description = "A simple example of introducing how to use gem"
s.authors = ["Changlong Wu"]
s.email = 'clongbupt@gmail.com'
s.files = ["lib/gem_example.rb", "lib/gem_example/translator.rb"]
s.executables << 'gem_example'
s.homepage =
'http://github.com/clongbupt/gem_example'
s.license = 'MIT'
end

添加可执行文件

在与lib/目录同级的地方新建bin/目录。然后在gemspec里添加他们。具体操作如下:

1
2
3
mkdir bin
touch bin/gem_example
chmod a+x bin/gem_example

在文件中添加如下代码。

1
2
3
4
#!/usr/bin/env ruby

require 'gem_example'
puts GemExample.hi(ARGV[0])

之后在gemspec文件里添加可执行的文件配置说明:

1
2
3
s.name        = 'gem_example'
s.version = '0.0.1'
s.executables << 'gem_example' #可执行文件

测试

TEST YOUR GEM!
一般会用TEST::Unit。它是ruby内置的测试框架,有很多的教程在网上可以找到。
首先创建文件Rakefile和文件夹test,如下所示:

1
2
3
4
5
6
7
8
9
10
11
.
├── Rakefile
├── bin
│ └── gem_example
├── gem_example.gemspec
├── lib
│ ├── gem_example
│ │ └── translator.rb
│ └── gem_example.rb
└── test
└── test_gem_example.rb

编辑test_gem_example.rb。

1
2
3
4
5
6
7
8
9
10
11
12
13
14
15
16
17
18
19
require 'test/unit'
require 'gem_example'

class GemExampleTest < Test::Unit::TestCase
def test_english_hello
assert_equal "hello world",
GemExample.hi("english")
end

def test_any_hello
assert_equal "hello world",
GemExample.hi("ruby")
end

def test_spanish_hello
assert_equal "hola mundo",
GemExample.hi("spanish")
end
end

Rakefile里添加一些简单的测试用例。

1
2
3
4
5
6
7
8
require 'rake/testtask'

Rake::TestTask.new do |t|
t.libs << 'test'
end

desc "Run tests"
task :default => :test

之后执行命令rake test或者直接rake,执行结果如下:

1
2
3
4
5
6
7
8
9
% rake test
Loaded suite
Started
....
Finished in 0.000943 seconds.

4 tests, 4 assertions, 0 failures, 0 errors, 0 skips

Test run options: --seed 15331

文档

大部分的gem会使用默认内建RDoc来生成文档.有很多的教程可以学习.

1
2
3
4
5
6
7
8
9
10
11
12
13
14
15
class GemExample
# Say hi to the world!
#
# Example:
# >> Hola.hi("spanish")
# => hola mundo
#
# Arguments:
# language: (String)

def self.hi(language = "english")
translator = Translator.new(language)
puts translator.hi
end
end

参考资料

  1. http://guides.rubygems.org/gems-with-extensions/
  2. http://qiita.com/xiangzhuyuan/items/7d3659bcebbaf52a1f12

欢迎阅读本周的CF周报。经过了两年半英文作者终于同他的好基友Dr Nic在一起了!并且作者表示希望更多的同仁加入基友大家庭。开个玩笑,回到正题。

  1. 新官上任三把火,新上任的CEO Sam Ramji在Bernard Golden的面谈中阐述了他对Cloud Foundry Foundation和PaaS的理解。

  2. Diego 增加了对 .NET 的支持。Pivotal公司的 Mark Kropf 特意发表博文 REPOS FOR WINDOWS SUPPORT IN CLOUD FOUNDRY NOW PUBLIC,博文总结了CF社区在Windows下可运性的组件,如lifecycle, garden, containerizer, diego。不得不说,CF社区的影响力正在迅速扩大,都开始触及Windows了,哈哈。

  3. 应用程序员的福利。同样出自 Mark Kropf 之手,The Dev View of CF。 站在应用开发者的视角,CF是怎样的一番风景。

  4. Hubot是Github开发的一个好玩的专门用来集成类似于IRC、Slack、Twitter等的bot。具体参见博文:installing the Github Hubot on CloudFoundry

  5. 最近业界的其他PaaS的发展怎样。这两篇文章值得一读:Find your Platform as a ServiceTowards Application Portability in Platform as a service

  6. 业界新闻。来自BlueMix的 Niklas Heidloff 介绍了 Docker 和 Cloud Foundry 结合的可能性和前景。Cloud Foundry and Containers

  7. 感谢 Altoros 为社区贡献了一篇关于GO的博文:The main concepts of Go

  8. Node迷请鼓掌! Kendrick Coleman 根据其经验分享的一篇博文:Node.js and MongoDB app

  9. 与以往一样,CloudFoundry After Dark

  10. 在波特兰(Portland)的CF聚会上,Intel讨论他们的私有云和CF Service Brokers研究情况,文章请点击.

  11. 另外Uber的CF聚会也马上要开始了,最后别忘了 CF Summit 2015

原文链接:This Week in Cloud Foundry 3 March 2015

译者:clongbupt

  1. 巨变即将到来。我们处在巨变前的黎明。或许是下周,Cloud Foundry生态体系将会迎来新的客人,那么具体是什么呢?先卖个关子,敬请期待。

  2. Netflix OSS项目,查了下中文资料,发现大家介绍的不是很多。Netflix是AWS最大的用户之一,在AWS各方工具还不太完善的时候,Netflix的技术团队开发了很多有用的工具,来辅助AWS的维护、管理和监控。后来,Netflix将很多有用的工具整理并开源出来了,就是Netflix OSS。项目地址:https://github.com/Netflix/

  3. CAB会议,全名Cloudfoundry Advisory Board Meeting。目测是Cloud Foundry社区最重要的会议,参会人员主要是社区各大公司的代表,很多大佬们也一步步坚持到2014年11月的CloudFoundry基金会的成立。最早一期记录:2014年一月,最近的一期记录:2015年1月

  4. Doc. Nic这周又给我们带来了惊喜,发布了一个ops工具:BOSH CLI Consul plugin,通过它可以容易的看到通过bosh deployments部署的服务。

  5. Health Monitor 这篇文章值得关注,它详细讲解了Health manager如何保证app存活以及如何进行错误跟踪。

  6. 另外一篇播客也很棒,对于初学者而言,简单的一个push背后究竟发生了什么?播客描述地址:introduction to the CF concepts。真正的播放地址:http://traffic.libsyn.com/pivotalsoftwarepodcast/All_Things_Pivotal_Episode_11.mp3

今天就到这儿啦。三月忽地就来了,天气暖和了,大家在编程之余,也要多出去走走哈。

原文链接:http://www.thisweekincf.com/blog/2015/02/27/this-week-in-cloud-foundry-28th-february-2015/

译者:clongbupt

  1. 上周最大的新闻是Cloud Foundry的新CEO上任,欢迎Sam Ramji!在加入Cloud Foundry之前Sam Ramji在Appigee工作,并有在微软设计和领导开源战略的经验。

  2. 在Youtube上的Cloud Foundry每周晚例会报告(Cloud Foundry After Dark hangout)

    • 企业级云发布管理工具Apache Brooklyn有望支持Cloud Foundry

    • Matt Stine 的新书 《Migrating to Cloud native App Architectures》

    • Cloudfoundry 的新运行时环境Diego示例介绍

    • Concouse.io 一个基于CF的CI解决方案介绍

晚例会观看地址:http://youtu.be/TY_qOyp27X4

  1. Edison 发布的关于 Bosh Lite 在 AWS 上部署的文章。链接: Bosh-Lite on AWS

  2. 支持函数式语言 Elixir 的 buildpack 发布。链接:Elixir Buildpack for Cloud Foundry

  3. Pivotal 发布了基于开源MySQL版本的CF版MySQL版。链接:MySQL service for Pivotal CF

原文链接:This Week in Cloud Foundry - February 17th 2015

译者:clongbupt

记录重新设计博客的点滴。

前言

去年的这个时候搭了一个简陋的博客。因为太简陋,便没有更新。然后就计划着等有时间了,稍微搭理下。计划是一个下午搞定,不料进行的不太顺利,便有了这篇博客。

准备工作

  • Jekyll

  • github.io

  • Flatboot

  • 代码高亮

  • 留言

  • Grunt

  • Bower

Jekyll

Jekyll是一个Ruby gems,可以在本地对github pages进行开发、调试,非常方便。

安装

安装rbenv

安装ruby

安装jekyll

gem install jekyll

使用

入门:

jekyll new 创建一个新的项目

jekyll build 对已存在的项目进行构建,主要是将yaml和md格式的文档转换成html

jekyll serve 启动内置服务器,实现本地网站的浏览

进阶:

jekyll serve -w 加入 -w 命令,使其支持在运行的过程中热加载,一旦有更新,即刻反映到页面。

flatboot

Flatboot是对bootstrap做扁平化设计的一个前端框架。

Grunt

Grunt可以是静态资源的管理,非常适合只有纯静态资源的github-pages博客。

安装

  • 安装Node
  • 安装NPM
  • 安装Grunt

使用

grunt init 初始化,会生成Gruntfile.json文件

Gruntfile.json文件中配置对前端资源文件的处理,如JS、CSS文件的合并,压缩。定制控制命令

grunt [command] 运行对应的命令,完成相应操作。

Bower

js库的管理器,通过简单的命令可以实现对项目中引入的JS库进行版本控制和管理。

安装

  • 安装Node
  • 安装NPM
  • 安装Bower

使用

bower init 初始化功能,主要是生成bower.json文件

bower install 读取bower.json 文件,根据其中的dependencies域安装项目所需JS库。

.bowerrc 配置bower install下载的js库的存放位置